See note at the bottom
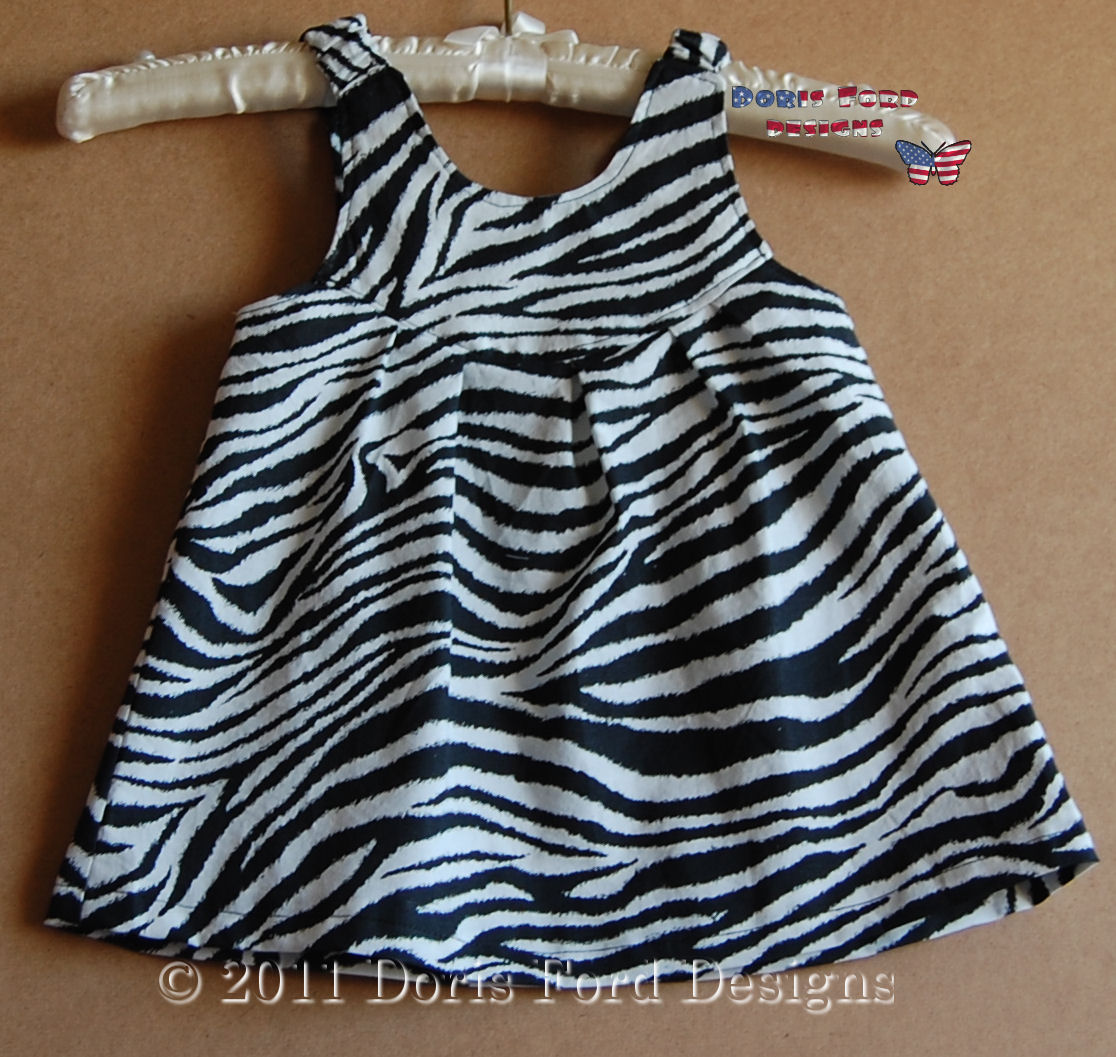
You can make this or leave a comment for the giveaway!! That's right, I am giving away this dress to one lucky winner. I will pay the shipping, even Overseas, so everyone can enter. The dress is a size 3 Month. All you have to do is leave a comment on this post and one winner will be pick on next Tuesday, July 12. Please only leave one comment per person.
OK, on with the tutorial--
I have tried to make sure every step I did, is in the tutorial. Please email me if anything is unclear.
Good luck in the giveaway! and bookmark me, because I plan on more giveaway and tutorials.
½ yard muslin (I am using bleached but you can use any color)
½ yard cotton fabric to make the stripes. If you use two or more colors, make sure your stripes are at
least 2.50” by 14”
3” piece of 1/8” elastic
1 small button
thread and pins
Paper pattern=34” x 9 1/2” for the skirt and 8 1/2” x 7” for the top.
Print out neck hole and armhole pattern. Fold the top pattern in half and place the neck hole at the fold
and cut out. Fold the skirt pattern in half twice and place the armhole pattern on the fold at the top.
While the skirt pattern piece is still folded, cut out the armhole opening and unfold. You should have
pattern pieces like pictured here.
Using the patterns, cut out from the muslin, 2 pieces of fabric of each piece. One piece will be your
base for the stripes and the other is a lining to hide seams and stitches inside. On the top pieces of
muslin, cut a slit in the fabric at the center of a long side, from edge to neck hole.
Put all pieces, except one skirt piece, aside. We are only going to be working with one skirt piece first.
Cut your colored fabric pieces into 2.5” by 14”. Lay out one skirt piece, from the muslin and lay one
stripe across it, making sure the ends overlap the top and bottom edges (see photo with arrows).
Lay next stripe on top and match the side edges where you will make the seam. Offset the top and
bottom just slightly, as in photo, so when the second stripe is sewn and fold over right side up, the ends
overlap on the edges, top and bottom of muslin, like the first stripe.
Sew the edges down, using a 1/4” seam allowance. Fold the second stripe over the seam and press
down.
The next stripes are all done the same way. Pin down, matching edges and offset slightly at the top and
bottom. Sew down and fold over and press. When you get to the armhole, lay the stripe out so it
covers the armhole and sew down all the way from top of stripe to bottom.
After all the stripes in one direction are sewn down, repeat to do the other half. The end stripes will be
shorter than 14”.
On the muslin side, edge stitch both ends and armholes 1/8” from the edge, to keep the muslin from
shifting away from the stripes. I marked my stitch lines with black because the white thread is not easy
to see in the photo.
Trim off all the edges.
Lay it aside and let's do the top of the dress. Take 3 stripes and sew them together edge to edge. Press
the seams towards the darker fabric.
Lay the muslin piece over the back of these stripes and position the muslin so the stripes are going in
the direction shown in the photo. After you have done the dress once, you will get a feel for different
directions you may want to go. But I suggest doing it my way the first time so it is easier to follow the
photos.
Pin the muslin to the stripes and edge stitch down the muslin piece everywhere the muslin is covered
with stripes. (see photo).
Then add a stripe to each side, just like you did with the skirt. Pin a stripe edge, sew a 1/4” seam and
fold out and press.
As you can see, with the way I did my stripes, I have a tiny corner left not covered. Cut 2 small pieces
and pin them, sew, turn over and press.
When the whole top muslin piece is covered with colored stripes, edge stitch the rest of the muslin
outside edges. Trim the scraps away from the edges. I use a rotary cutter for the straight edges and a
pair of scissors for the center. Make sure you cut open the slit for the back.
Now we will sew together the two top pieces, adding the elastic loop. On one side, pin the elastic
down, as shown in the photo. Tack it down with a few stitches and remove the pin.
Lay down the top piece with the stripes up and pin the lining piece to it matching up edges. Edge stitch
starting at one side of back slit, continue around oval neck opening and down the other side of the back
slit.
Clip the corners shown in the photo and clip the curve of the neck opening. Turn the lining around to
the other side. Now your seams are hidden. Pin the far most edges together and press the neck opening
and the 2 sides of the back slit. Top stitch around these edges. On the 2 short sides fold over each edge
¼' inch, pin together and top stitch them together.
The top is now done.
If you want a ruffle, now is when you attach it to the skirt, before the lining. Cut a piece of fabric twice
as wide as the ruffle you want + 1/2” and at least 1 ½ times the length of the skirt bottom. We made the
skirt 34” across so the ruffle length will be at least 51”. I usually cut mine 3” by WOF (width of fabric) and cut 2 and sew the ends together. Then fold in half, right sides out and press.
Pin the ruffle to the bottom of the skirt, as shown in the photo, raw edges together, ruffle fold towards
the top. I did pleats in mine, you can do pleats or gather it. Either way, you just want to get the ruffle
fabric to fit in between the 2 sides of the skirt. Tack down the ruffle with a line of stitching and pull the
pins out as you get to them. I have broken many needles thinking I could sew over the pins, lol.
Then pin the lining to this side. Sew the lines I have marked in the photo. You are going to be sewing
a seam in each arm hole, both sides of the back slit and the hem all the way across.
Clip the fabric at the top and bottom of each back slit corner and clip the curves on the arm holes. See
photo for where to clip.
Turn the skirt piece right side out, pushing the corners, ruffle and arm holes out. I like sewing a line of
top stitching around these areas to keep their shape. Now we can join the top piece to the skirt. Pin the
center of the skirt to the front edge of the top.
I did pleats in my ruffle, so I like doing pleats here too. It is up to you, pleats or gathering, your choice.
The important thing is to get the skirt piece to fit to the top piece. I accomplish this by pinning my
outside edges of each piece to each other and then make even pleats in between these two pins. Sew
the seam here.
Do the same to the back of the skirt and top. Match up the corners, pin the pleats and stitch the seam.
You can top stitch these seams but be careful. There is a lot of layers of fabric in these and you may
break a needle.
One last seam left, the center back. Pin it together matching up the ruffle and pinning it all the way up
to the back slit. Sew a seam from the bottom up to where the back slit starts. I sew a few stitches from
the seam to the edge, joining both sides of the back slit.
Press the seam and turn the dress right side out. Last thing to do is sew a button opposite the elastic
loop and now it is ready for wearing.
I hope you have enjoyed my tutorial. This dress is not in my store yet but will be. Please go have a look.
Doris Ford Designs Store All dresses I have for sale will be up later today, Etsy is giving me fits when I try to list.
Doris
I picked a winner (see July 12 post) but can't find a link for Greg & Nancy's email. :(
Can Greg & Nancy please contact me with their mailing address? Before Thursday morning, I leave Thursday on vacation & want to send out this dress before I leave.